 Since moving from my large shop to my home based smaller shop, I needed to have a work bench that has many functions and could be disassembled to move onsite or just free up floor space for other tasks.
So the quest began. I wanted a large, waist-high surface that could handle bigger projects. I also wanted somewhere to store tools. These days, I have specialty tools for everything. Routers (not just a router), track saw (how did I ever complete a project without one of those?); pocket hole cutter, drills, screw guns, mallet, chisels, tape measure, and the various accessories which inevitably come along for the ride. If I put the tools on the work bench, then there is no space for the work piece. If I put the tools on the floor, then my back and knees suffer. If putting the tools on the top is no good, and the floor is even worse, what do I do? And how do I clamp wood or jigs to the bench? I know this much: a table saw out-feed is a must in my workflow.
Lastly, how do I get the work bench from job to job? It can’t be too big or too heavy to handle solo.
So there it is: I want a bench with a large surface, tool storage, clamping options, table saw out-feed, and it has to be light enough for one person to manage. After researching and chatting with other woodworkers in “cyber space”, I found the “Ultimate Workbench”. It was designed by Paul for his tools and saws, but with light weight 1/2 plywood. Instead of “recreating the wheel”, I used his plans as the base for my work bench.
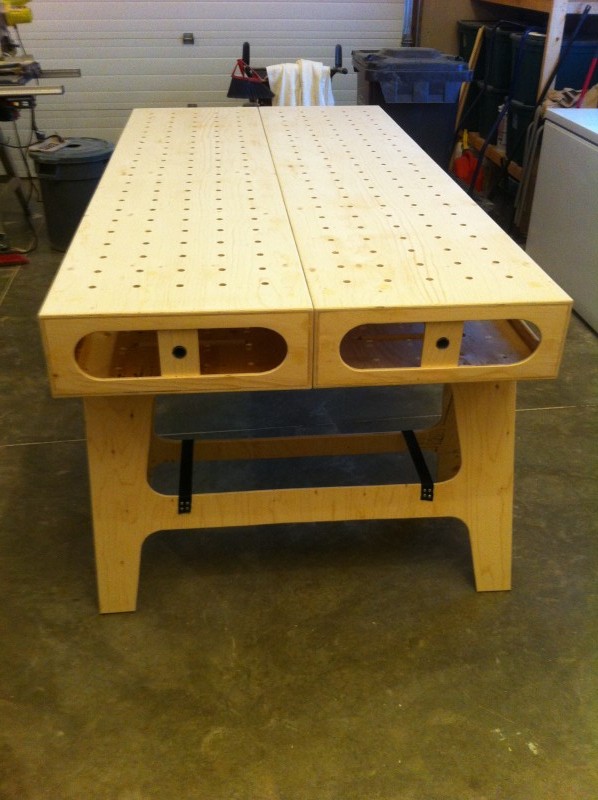
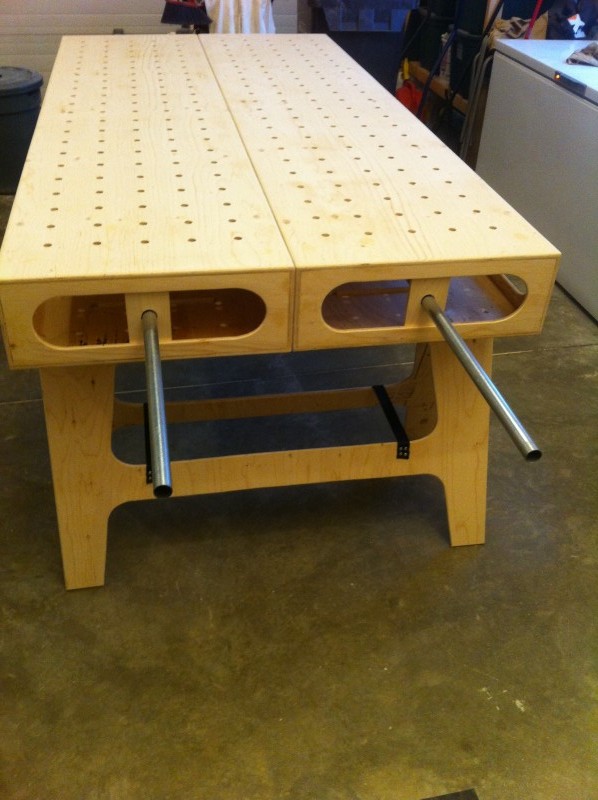
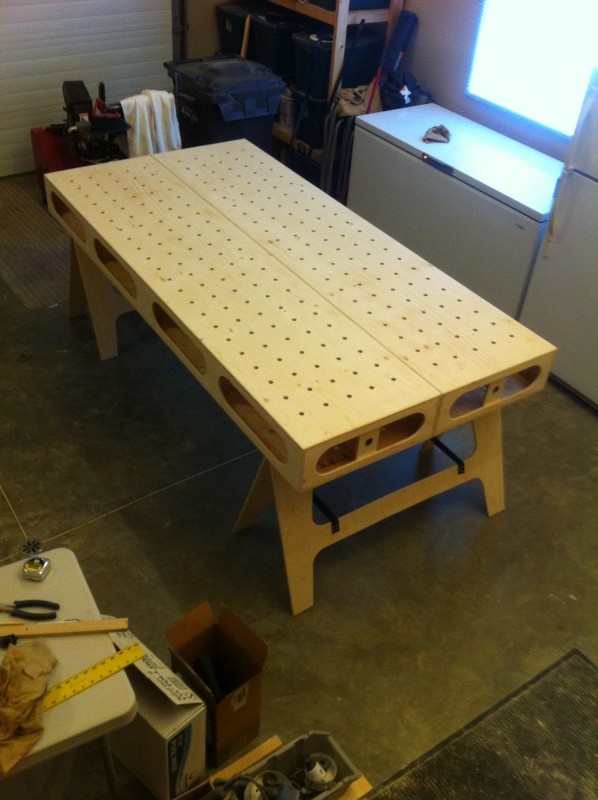
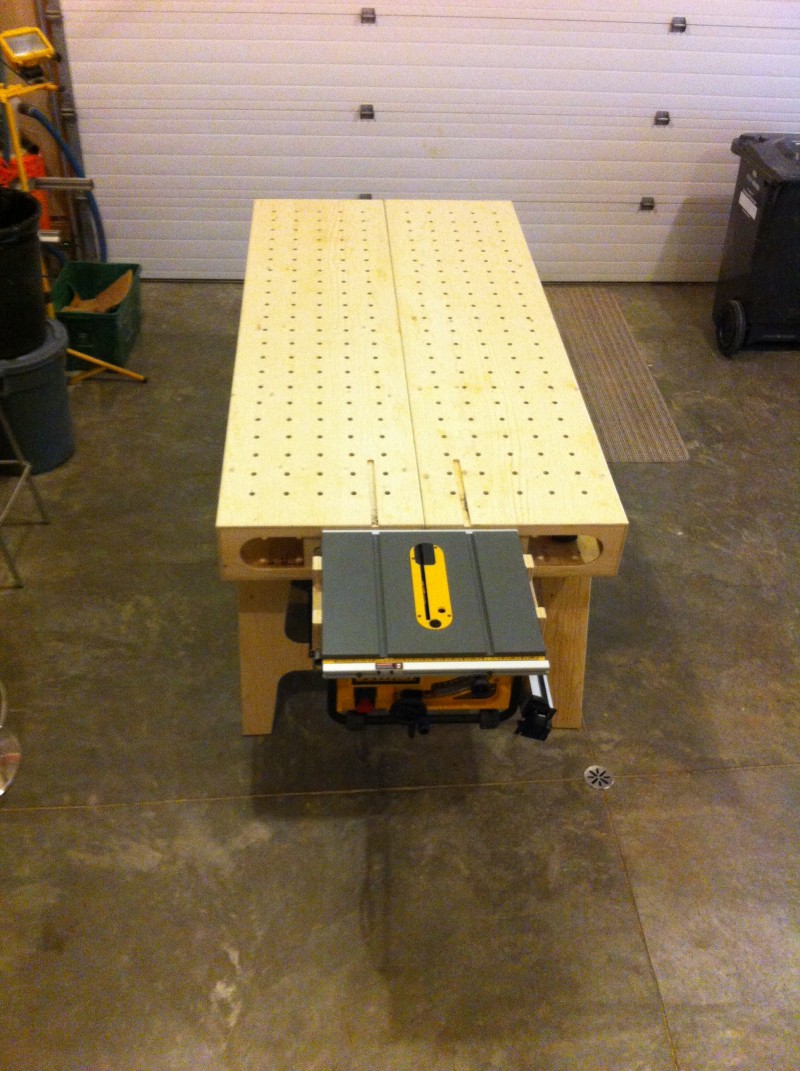
It is a 4 feet by 8 feet work top, with 3/8 inch holes 4 inches apart for bench dogs or clamping. It has pockets all the way around the table for tool storage. My Dewalt table saw sits on the 2 Two 3/4-in. x 6-feet galvanized pipes, that slide in when not in use. I routed 2 run-out slots for my table saw accessories and sleds.
It takes me less than 2 minutes to assemble and disassemble the workbench, it is light weight and strong. Now when using the bench and others see the capabilities and complexity of my bench, they ask “How much to build me one”. I just smile and tell them, they can measure mine and I will explain the building process to them. Maybe in the future….
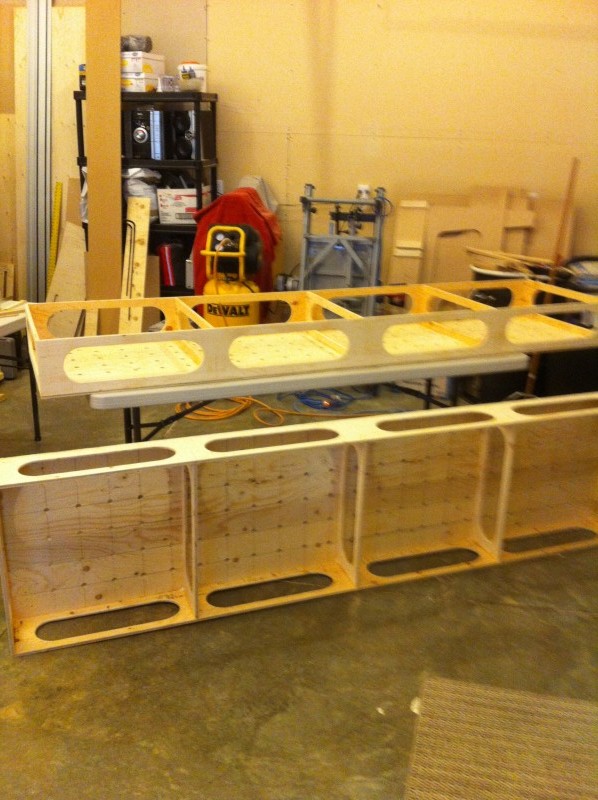
Below are some pictures of the process of the build.
After cutting out all the needed tops, bottoms, side & inner supports and legs, I assembled the work bench with glue and pocket screws.

These pictures show the complete build with the table saw supports in & out of the bench.